SPAI Builder user guide
Designed as a no-code tool, the SPAI Builder offers a user-friendly and intuitive UI for executing tasks efficiently. Let’s see an example of how to use it!
Before starting, remember that you must log in to SPAI.
Getting started
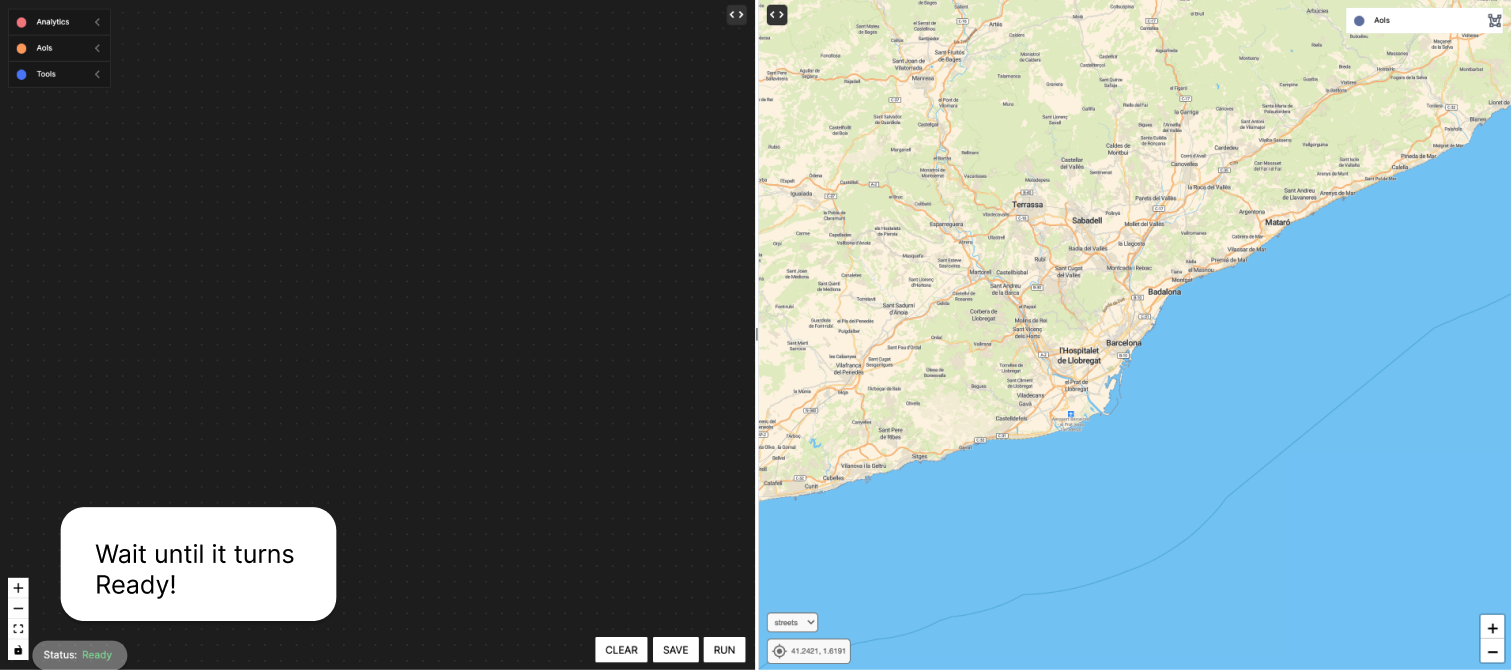
The first time users go to the Builder, a message will appear that a project is being generated for it. This will last a few seconds. This will last a few seconds. Please wait until the status message in the lower left corner is Ready.
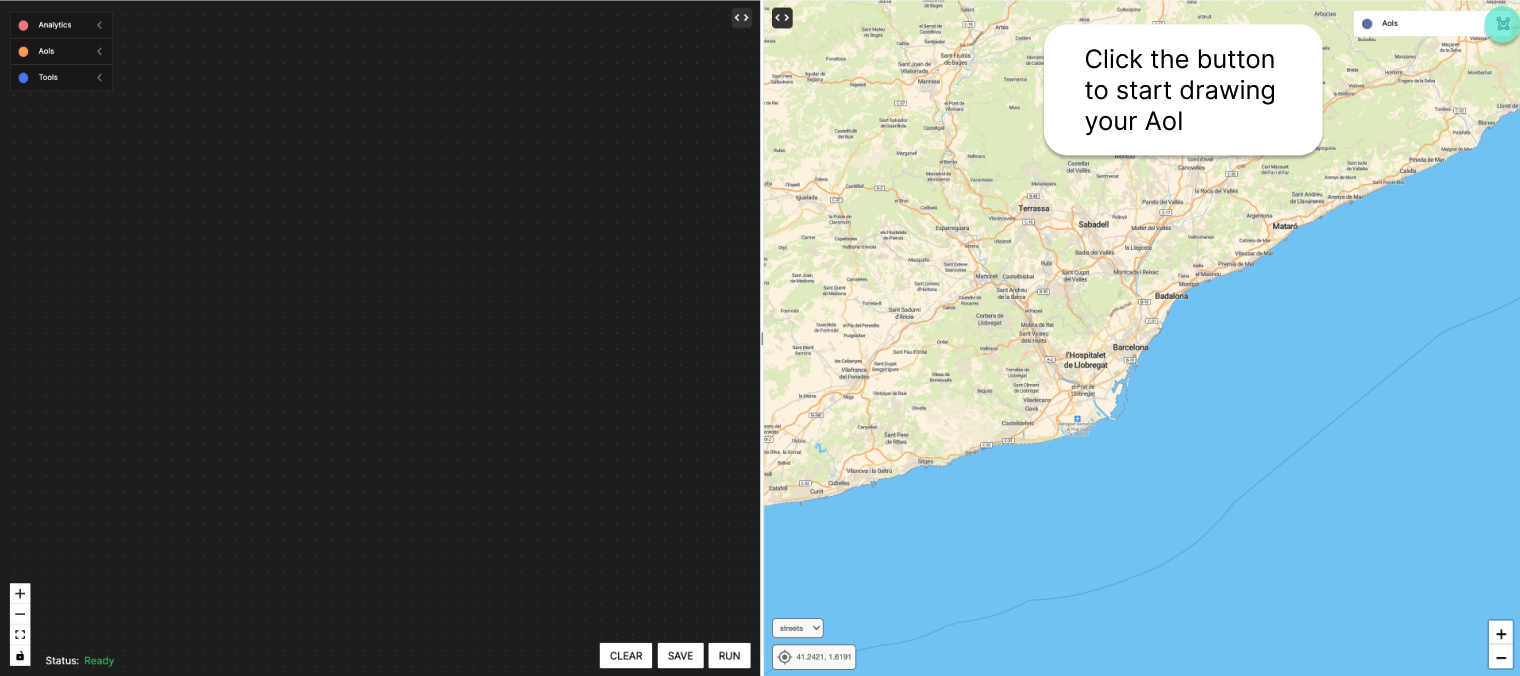
Drawing an AoI
In the upper right corner, where it indicates AoIs, we will click on the icon to draw them.
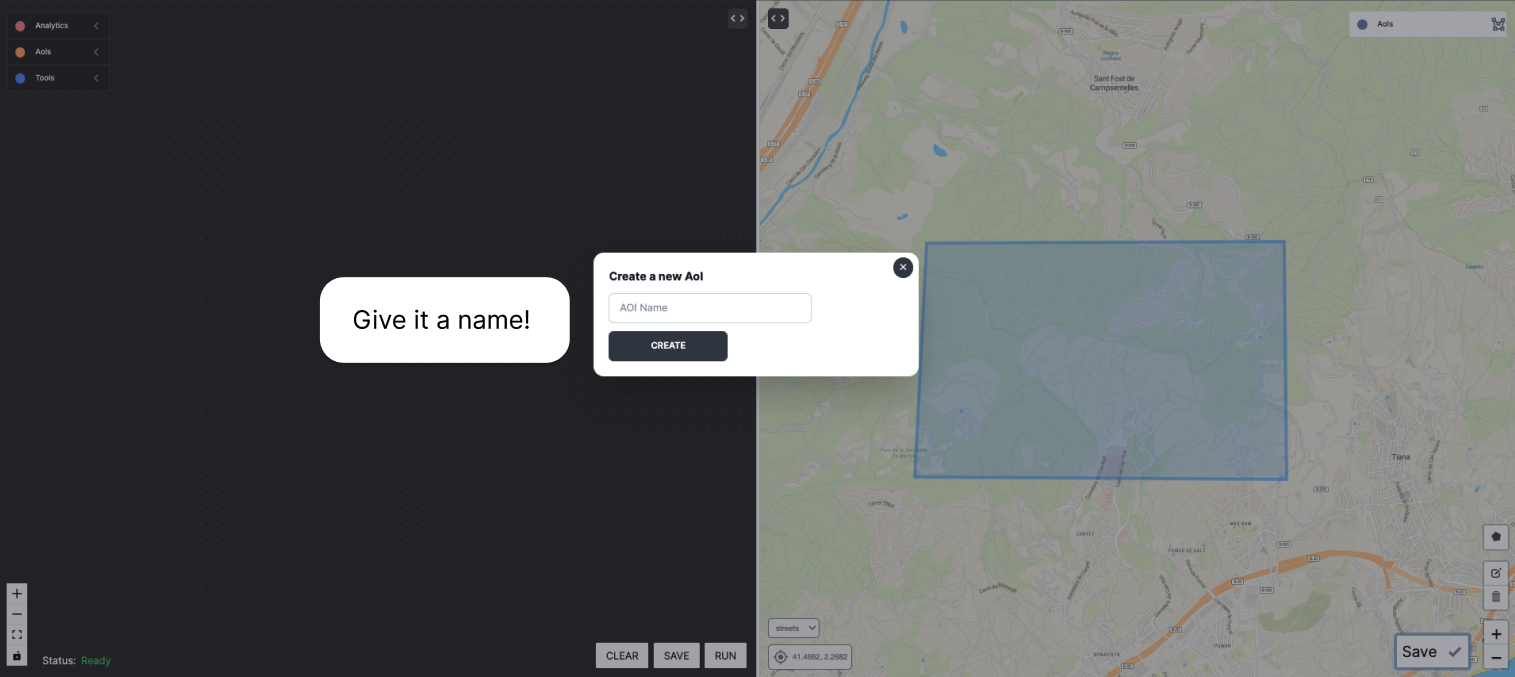
Now, we create a polygon by joining points, and click Save.

Last but not least, we give a name to our new AoI.
Downloading images
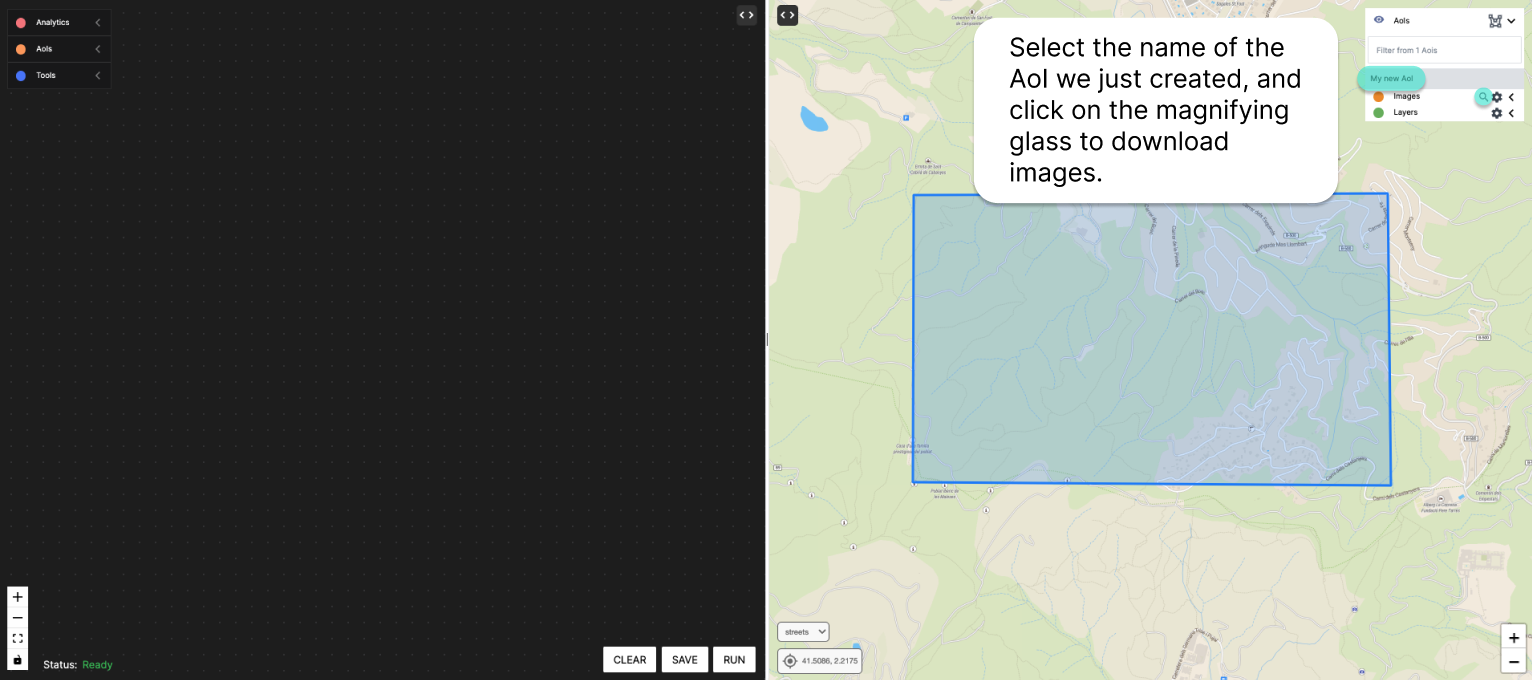
To download satellite images, you can click on the name of the AoI, in the upper right corner, and click on the magnifying glass next to images.
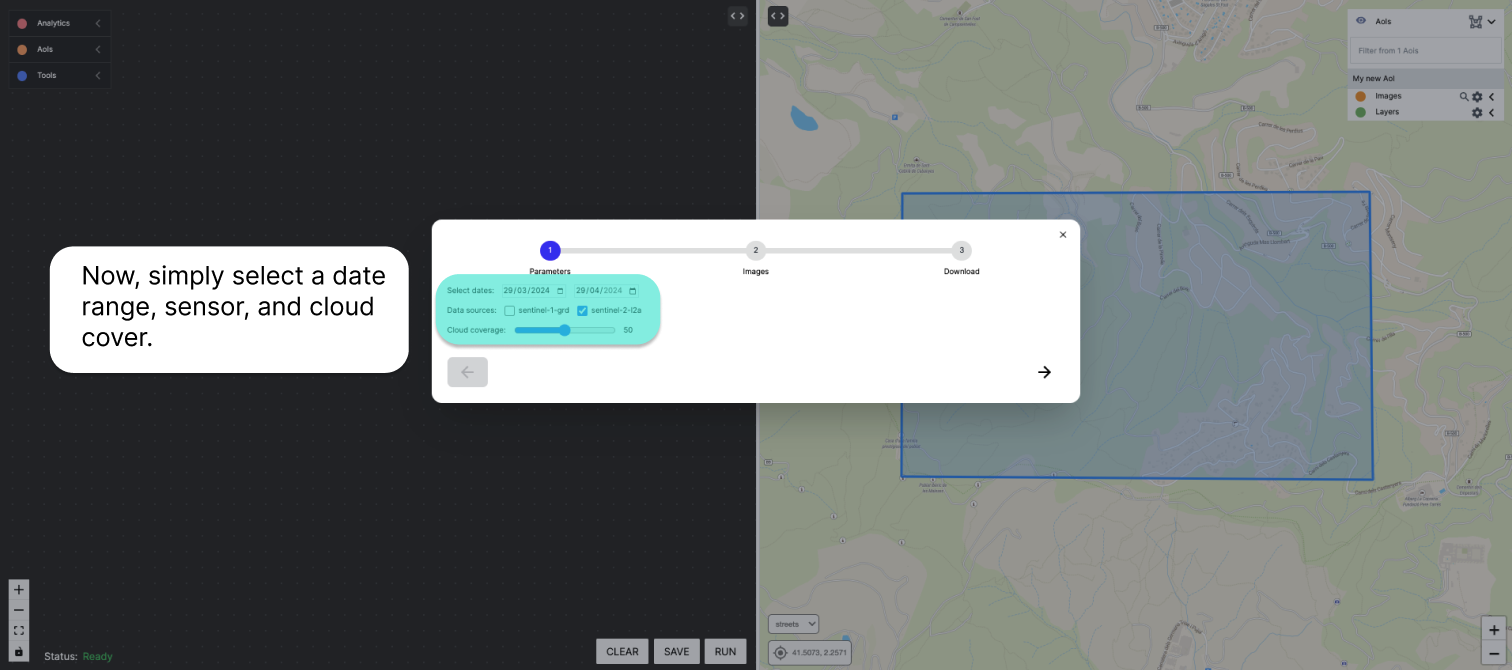
In the menu, you can select the date range, sensor and cloud cover.
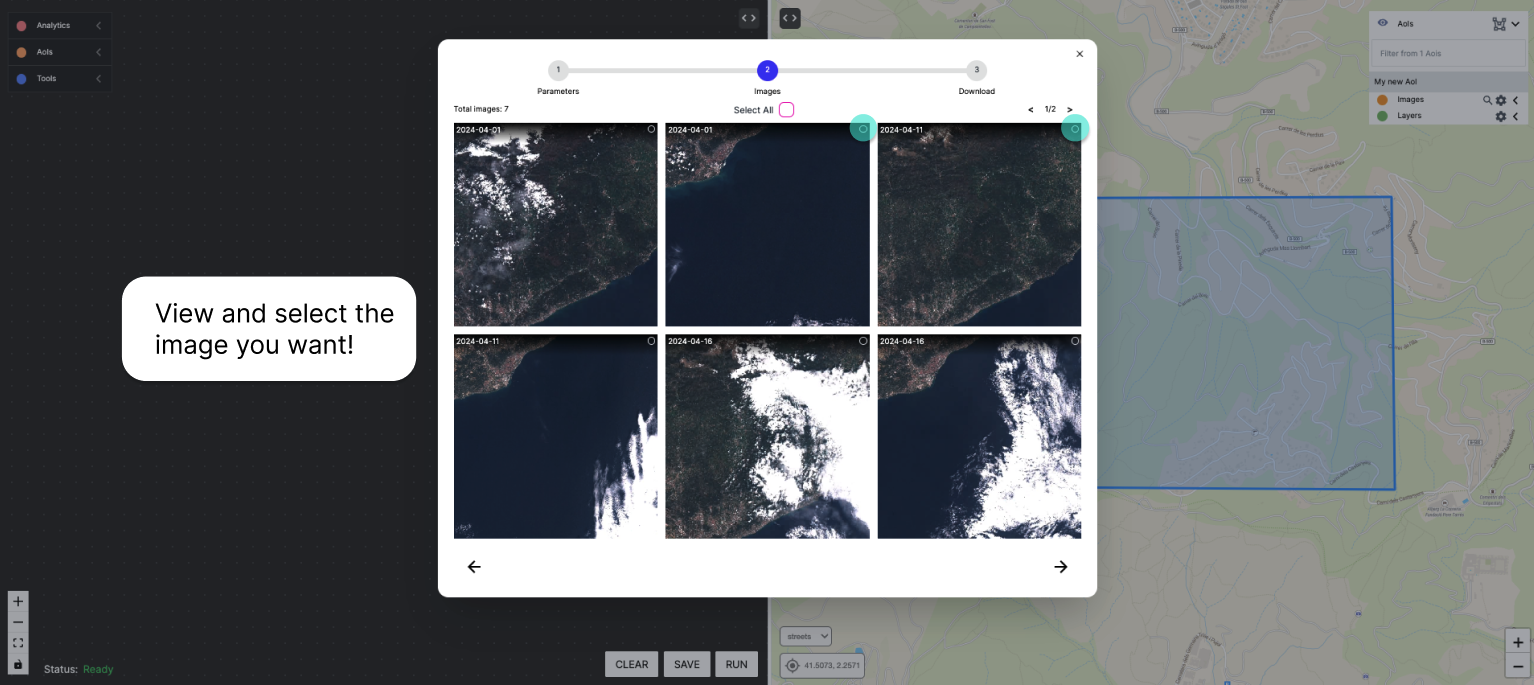
Afterwards, you will be able to see the thumbnail of the available images. Select the ones that interest you the most.
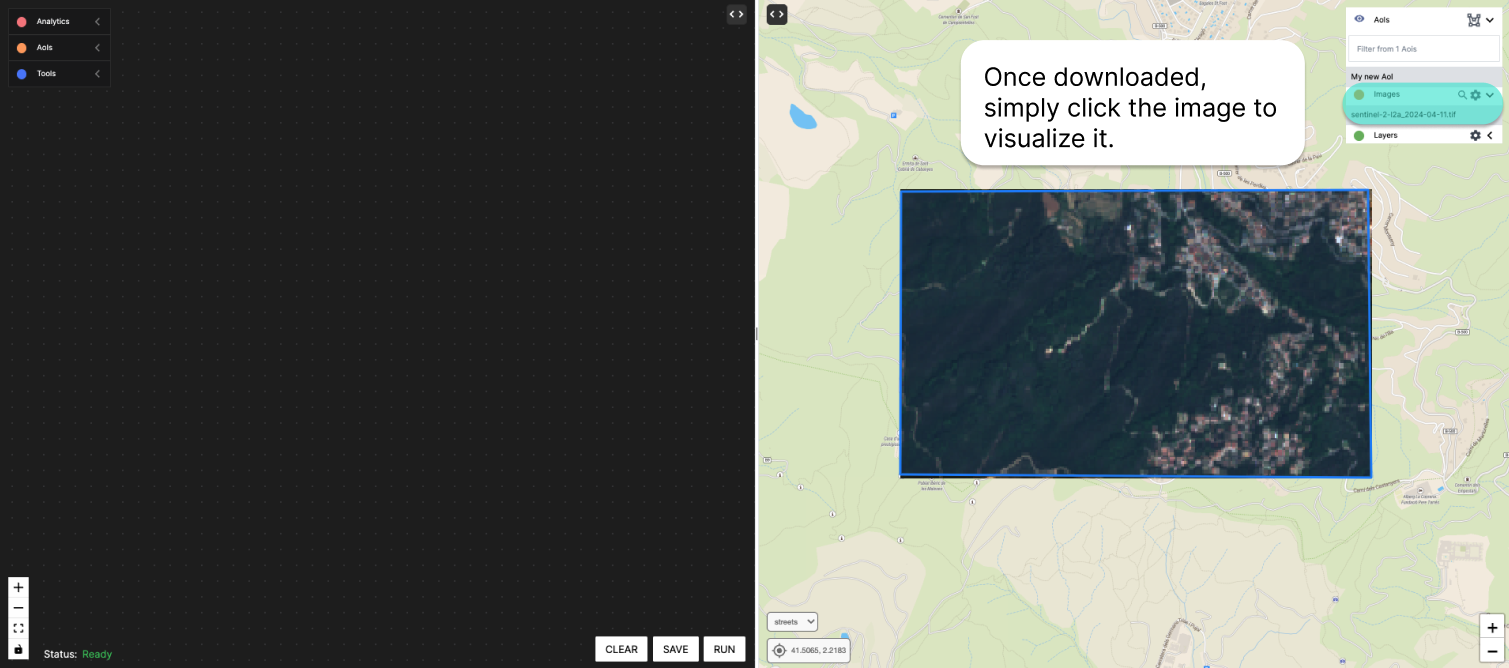
Once the images are downloaded, click on Images and you will be able to see the downloaded images.
Starting the workflow
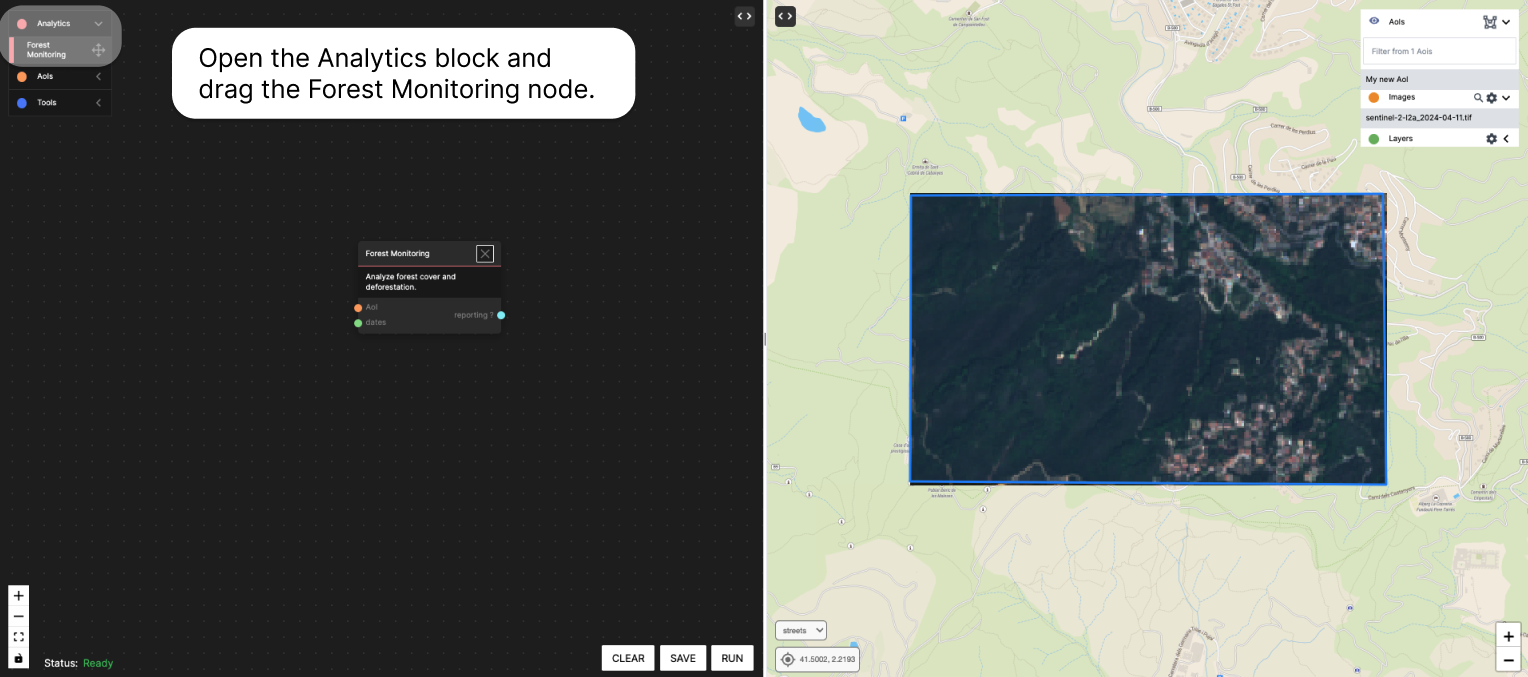
The left panel is the panel for dragging nodes and creating workflows. We will start by going to the box in the upper left corner and clicking on Analytics, and then dragging the Forest Monitoring node to the panel.
Creating the workflow
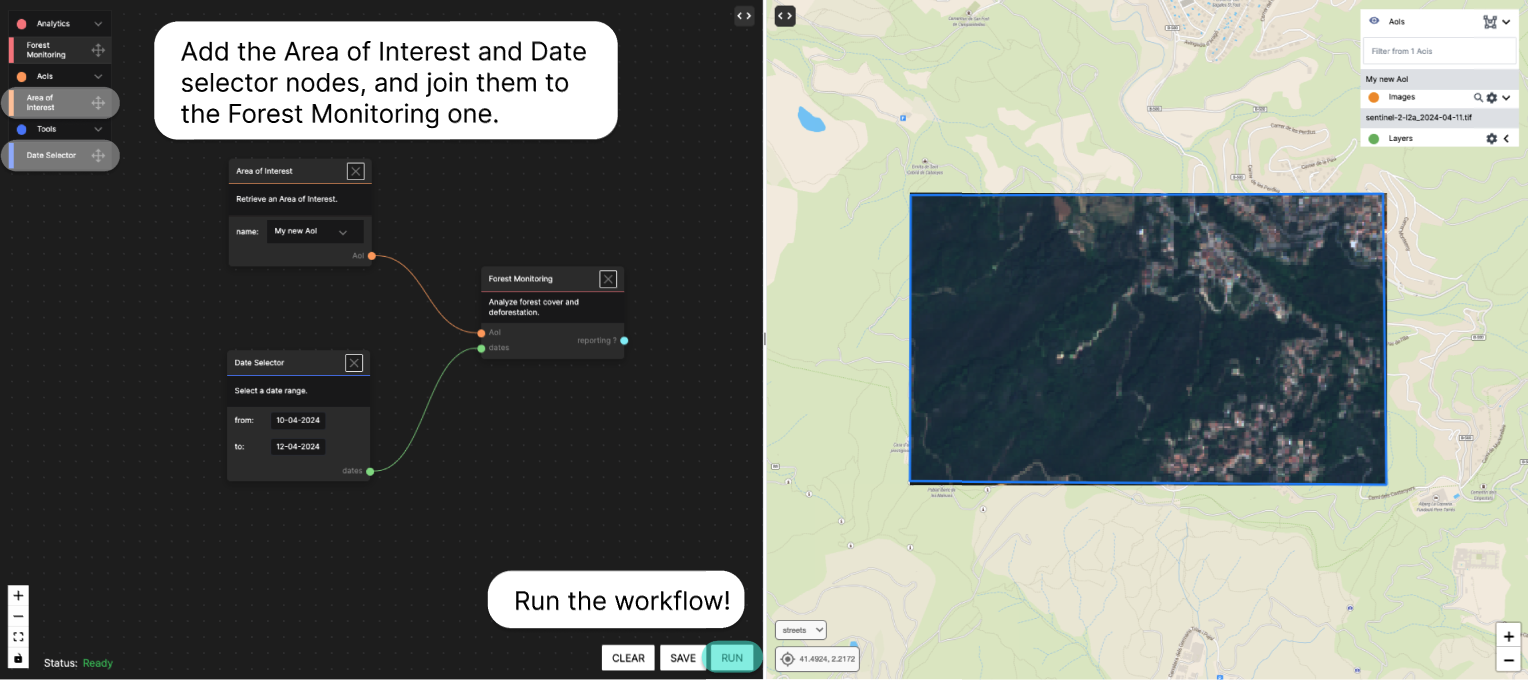
Once we have added the Forest Monitoring node, we see that it receives two inputs: AoI and Dates. Let’s go back to the box in the upper left corner and add the Area of Interest node, from the AoIs block, and the Date Selector node, from the Tools block. Next, we will select our AoI and a date range. For this tutorial, select a date range for the images you have previously downloaded. Then, we will join both nodes to the forest monitoring node and execute Run. It may take a few minutes.
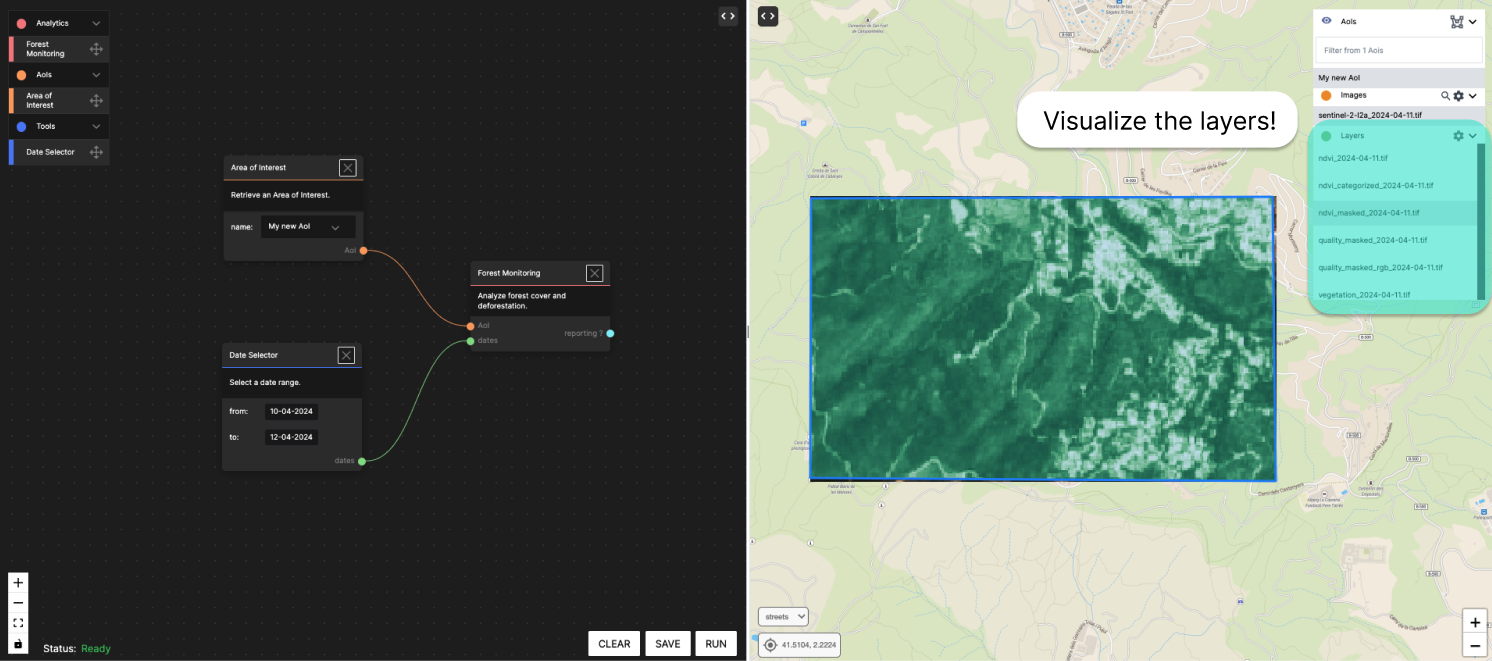
Seeing the results
Once the process is finished, we can select our AoI again in the upper right box and display the Layers block. There we will have the layers that have been generated and we can view them!